Your Photos Are the Whole Pitch. Act Like It.
Nobody reads your listing description. Not really. They swipe through the photos, make a gut call in about four seconds, and either keep scrolling or tap to check your dates.
That means your cabin isn't competing on hot tubs, location, or thread count. It's competing on images. And if you've got 40 dim, crooked phone snapshots with a crooked horizon and your reflection in the bathroom mirror, you're losing bookings to a worse property with better photos. That happens every single day in Red River Gorge and around Lake Cumberland, where a dozen cabins offer nearly the same thing and the photos are the only real differentiator.
Here's the good news: you can shoot most of this yourself. Not all of it — I'll tell you exactly where the line is — but most of it. What you need isn't a better camera. It's an order of operations.
Step 1: Stage Before You Shoot Anything
Amateur hosts walk in with a phone and start shooting. Professionals spend two hours staging and 45 minutes shooting.
Staging is where the actual value gets created, and it costs you nothing but effort. Work through the cabin in this order:
Strip it down first. Remove everything that isn't intentional. Trash cans, cleaning supplies, phone chargers, remotes, soap bottles, the laminated house rules sign, cords, floor mats, dish towels hanging on the oven handle. Empty counters photograph as "spacious." Cluttered counters photograph as "small."
Then add back deliberately. A few things, placed with purpose:
- Beds made tight, pillows fluffed and karate-chopped, no wrinkles. Iron the duvet if you have to.
- Towels rolled or folded in thirds, stacked neatly
- One bowl of lemons, apples, or greenery on the kitchen island
- Two mugs on the coffee table, not four
- A throw blanket draped over a chair arm — draped, not folded
- Fresh firewood stacked by the stove if you've got one
Hide the ugly. Thermostats, breaker panels, hot water heaters, extension cords. If you can't hide it, shoot around it.
Open every blind and curtain to the same height. Nothing screams "sloppy" like three windows at three different heights in one frame.
Turn on every light in the house. Yes, even in daylight. Warm lamp light in a shot does something for mood that natural light alone won't.
One more thing: put every toilet seat down and close the shower curtain or glass door. I promise you've seen a listing that got this wrong.
Step 2: Shoot at the Right Time of Day
This is the single biggest free upgrade available to you.
Interiors: mid-morning to early afternoon on a bright but overcast day. Overcast is your friend indoors. Direct sun blasting through a window creates a blown-out white rectangle and a dark room, and your phone cannot fix that gap. Soft, even light fills a room and lets you keep detail both inside and out the window.
Exteriors and hero shots: the 30 minutes before sunset, plus the 20 minutes after. For a Gorge cabin with a deck view or a Lake Cumberland property with water behind it, this is non-negotiable. Golden light makes wood siding glow. Then wait for blue hour — that window just after sunset when the sky is deep blue and your interior lights read as warm gold through the windows. That twilight exterior is your cover photo. It is the most valuable single image in your entire listing.
Fire pits, hot tubs, and string lights: blue hour only. A hot tub in flat midday sun looks like a plastic tub. A hot tub at dusk with steam rising and lights on looks like a vacation.
Plan on two sessions: a daytime interior pass and an evening exterior pass. Trying to do both at once is how you end up with a mediocre version of each.
Step 3: Get Your Height and Angle Right
Three rules. They matter more than your gear.
Shoot from chest height, not eye height. Roughly 4 to 4.5 feet off the floor. Eye-level shots make floors look enormous and ceilings look low. Chest height is how rooms read naturally to the brain. For bedrooms, drop slightly lower — just above the mattress line.
Keep your camera perfectly level. No tilting up, no tilting down. The second you tilt, vertical lines — door frames, walls, cabinets — start leaning inward or outward and the whole image feels off, even to people who can't articulate why. Turn on your phone's grid and level. Use them religiously.
Shoot into corners, not at flat walls. Stand in one corner of the room and shoot toward the opposite corner. This shows two walls and gives depth. Shooting straight at a flat wall produces a boring, compressed image that makes the room feel like a hallway.
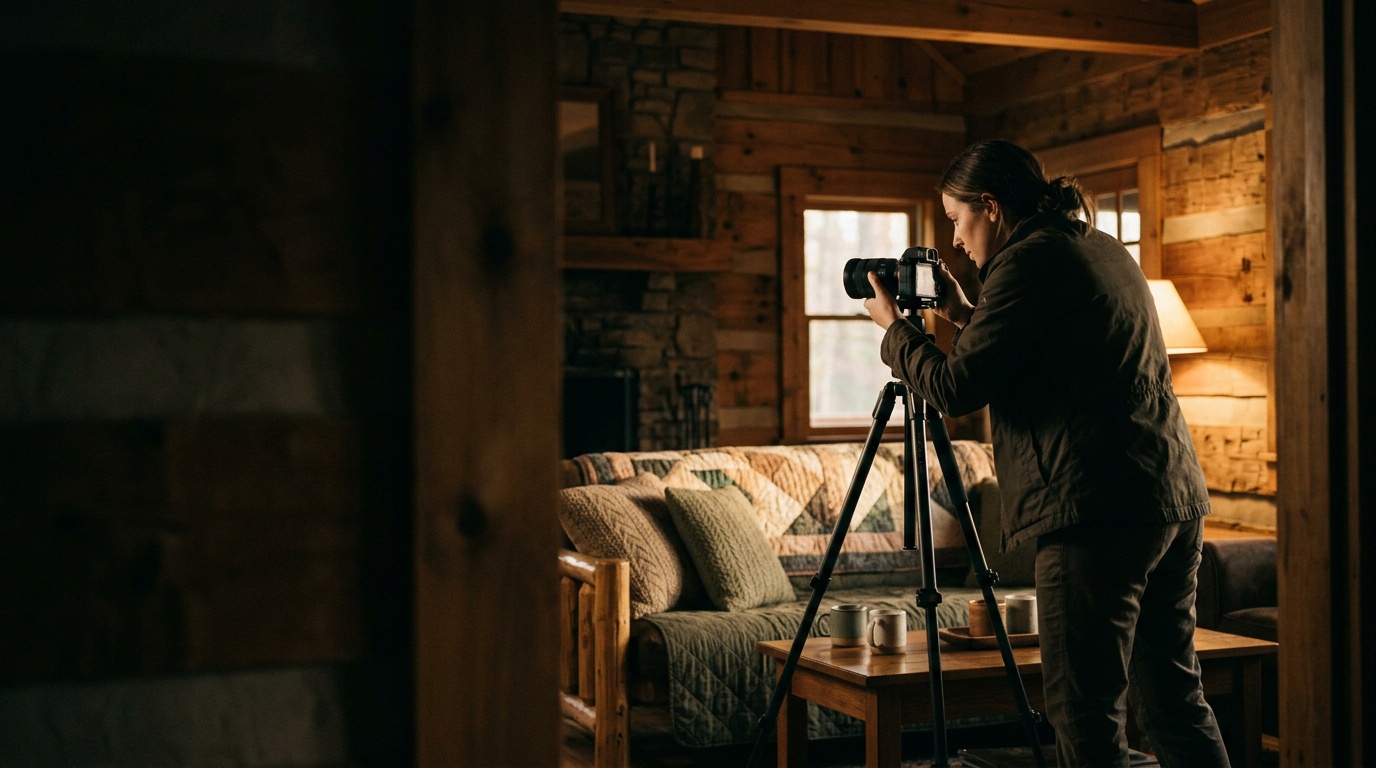
And a hard rule: put the phone on a tripod. A cheap tripod with a phone mount costs less than one night's booking and fixes your height consistency, your level, and your low-light sharpness in one move.
The 12 Shots Every Kentucky Rental Listing Needs
Shoot these in this order. Don't improvise the sequence — you'll forget something and have to drive back out.
- The twilight exterior hero. Full front or best angle, lights on, blue sky. This is your thumbnail.
- The daytime exterior. Same angle, golden hour. Shows the property honestly in daylight.
- The view. If you've got a ridgeline, a hollow, or water — shoot it from the deck or window, framed so guests understand it's their view from the property.
- Main living space, wide corner shot. Fireplace or TV wall visible. This is your second-most-important image.
- Main living space, second angle. From the opposite corner. Proves it's a real room, not one good angle.
- Kitchen, wide. Counters clear, lights on, one styled element.
- Dining area with table set. Plates, glasses, maybe a bottle. Set tables communicate "gather here."
- Primary bedroom, wide from the foot-corner. Bed as the anchor, headboard visible.
- Each additional bedroom. One strong shot each. Guests count beds before they book.
- Bathroom. Yes, it matters. Rolled towels, clean mirror, no visible toiletries, no reflection of you in the mirror. Shoot from the doorway at chest height.
- Outdoor living: deck, hot tub, fire pit. Blue hour, lights on, no winter leaf debris.
- One detail shot. Coffee station, record player, board games on the shelf, the sign at the trailhead. This is what makes your cabin feel like yours instead of a generic rental.
Then add bonus shots for anything that's genuinely a selling point: the loft, the game room, the dock, the stocked bookshelf, the parking area if access is a common guest question.
Cap it around 25 to 30 images. Forty is too many. Guests fatigue, and weak photos drag down the average impression of the whole listing. Cut anything that's redundant or merely okay.
Editing: Do Less Than You Think
Three adjustments, in this order:
- Straighten. Fix any tilt. Vertical lines should be vertical.
- Lift shadows slightly, pull highlights down slightly. This recovers blown-out windows and dark corners.
- Nudge warmth up a touch. Especially on wood interiors, which is most Kentucky cabins.
That's it. Don't crank saturation. Don't use heavy HDR filters that give everything that fake glowing halo. Over-edited photos create a gap between expectation and reality, and that gap shows up in your reviews. The goal is accurate and flattering, not fantasy.
When to Stop DIY-ing and Hire a Pro
I'm not going to pretend self-shooting is always the right call. Here's the honest line.
Keep doing it yourself if:
- You're in your first season and testing the market
- Your cabin is small with good natural light and a simple layout
- You're updating two or three rooms after a refresh
Hire it out if:
- Your nightly rate is high enough that one or two extra booked nights per month pays for the shoot
- You've got a view that your phone physically cannot capture — big windows with huge contrast between inside and out
- You want aerial footage showing the property in relation to the Gorge, the lake, or the treeline. That's a drone job with real licensing requirements.
- You're launching multiple properties and need consistency across a portfolio
- You want video. A 30-second walkthrough clip does something in search and on social that stills can't, and it's the hardest piece to pull off on your own.
That last one matters more every year. Listing platforms and social feeds both favor motion. If you're serious about filling your calendar in the shoulder seasons, video is where the leverage is — and it's worth getting professional photography done at the same time so your stills and video share the same look.
If you're running a short-term rental anywhere from Somerset to Richmond and your listing photos aren't doing the selling for you, let's talk about what a proper shoot would look like for your property — stills, video, drone, or all three. Book a strategy call and we'll figure out whether you need us or whether a tripod and this checklist will get you there.
 Cody NottinghamFounder & Director of Photography, Envision Media Co. · London, KY
Cody has run camera on 300+ shoots for 50+ businesses across southeastern Kentucky since 2022, from Somerset marinas to Corbin contractors to Lexington retail. He still shoots most jobs himself, which is where the specifics in these posts come from. More about Cody.